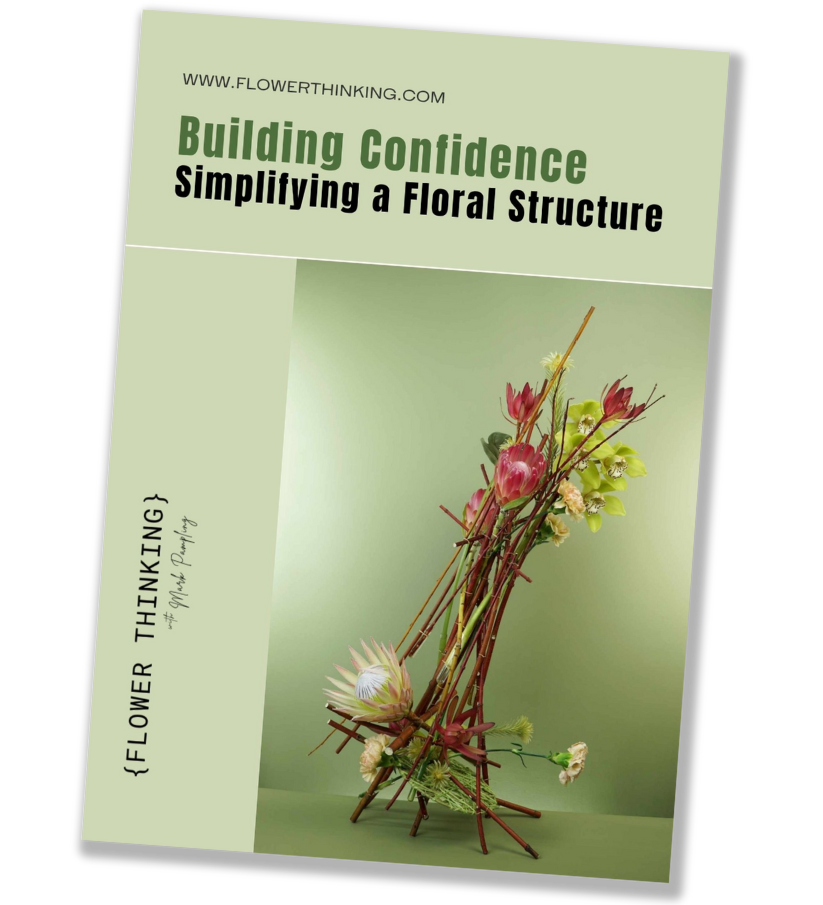

The Guide
Everything you need to take part, from your first meeting to your last submission: dates, how each task works, choosing and working with your materials, photographing your designs, and what to expect from the group review.
Design Solutions is built around four practical design tasks and five online meetings. The first meeting introduces Design Solutions and the first task. Each of the following meetings reviews submitted work and moves Design Solutions into its next stage. The final meeting reviews the fourth task and considers the four designs together.
The tasks give everyone a common design context while leaving considerable freedom in materials, mechanics, scale and individual approach. Throughout Design Solutions, you work predominantly with the same two preferred materials. Each task changes the conditions in which you use them, asking you to explore their possibilities and apply the design principles in different ways.
A central purpose of Design Solutions is to help us recognise the organising systems and habits present in our work. Participants begin at different points and will finish at different points. The useful measure is what you can see and understand more clearly in your own work as you progress through Design Solutions.
Before the first meeting, begin thinking about two materials that you can source repeatedly during the eight weeks. You do not need to decide on exact designs, prepare elaborate mechanics or buy expensive materials. The first meeting explains the Design Solutions framework and gives you the complete brief for the first task.
Design Solutions timetable and meeting format
Design Solutions runs from 14 September to 9 November 2026. There are two course groups -- use the timetable for the region in which you registered.
You do not need to attend live to participate in Design Solutions. Recordings and detailed notes are provided after the meetings so that you can catch up. Attending live gives you the additional opportunity to ask questions and take part in the discussion as we work through the designs.
The first three tasks follow the same general process.
- The task is introduced. We discuss its design parameters, examples and any particular points to consider.
- You plan and make your design. The brief defines the areas we are concentrating on. Within those parameters, your mechanics, scale and individual solution are largely your own. Your two preferred materials remain predominant, with additional material used where the design requires it.
- You photograph and submit your work. Submissions are by email. The practical details are given in the first meeting.
- We review the work together. Mark examines each submitted design in advance and discusses it with the group during the following meeting.
- You reflect on the review. You may decide to keep the design as it is, revise something, make another version, or carry what you have learned into the next task.
Task 4 adds an optional stage before construction. You can submit a sketch or short written description of your overlapping-design concept. Mark reviews the concept and suggests any useful changes before you make the finished design. The sketch only needs to communicate your idea. It does not need to be highly finished, and the completed design does not have to follow it exactly.
Allow approximately five to eight hours for each task as a general planning range. Individual working times vary substantially. There is no expectation that the work should be elaborate, large or expensive.
Each task has a target submission date shortly before the meeting in which it will be reviewed. This gives Mark time to study the submitted photographs and prepare them for the group discussion.
Treat the submission date as the normal working timetable. If circumstances get in the way, contact Mark and send your work when you can. We will work with what is practicable. A missed deadline does not need to become a reason to stop participating.
The same principle applies if you miss a task. Continue with Design Solutions where you can. Depending on the timing, you may be able to complete the task later or submit it for whatever review is practicable.
Revising a design is optional. You are welcome to reconsider your work, make changes and send another version. Participants sometimes make practice versions, photograph a design and then change it, or submit more than one response to the same task.
Mark will give you direct feedback on a revision so that the effects of the changes can be examined. Where time permits, revised work may also be discussed with the group during the following meeting. The four main task submissions take priority.
The aim is to continue working with the same two preferred materials throughout Design Solutions. Some practical flexibility remains. If availability changes or a material proves unsuitable for a particular task, contact Mark and discuss what will allow you to continue the investigation usefully.
Questions do not need to wait until the next meeting.
If something in a brief is unclear, you are uncertain about a design decision, or you encounter a problem while working, email Mark. Questions between meetings are part of the way Design Solutions operates, and Mark will respond as soon as practicable.
You can also bring questions to the live meetings. A question about one participant's work often opens a useful discussion for the whole group.
Choose two preferred materials that you can source repeatedly during the eight weeks and that give you enough possibilities to explore.
Look beyond the most obvious flower or leaf. A single material may provide flowers, leaves, stems, seed pods, bracts and other parts. It may also behave differently when used fresh, dried, whole or separated into parts. Exploring these possibilities can substantially widen the range available from a pared-back material palette.
Your garden, florists, wholesalers, friends, local growers and material growing nearby can all be useful sources. Always obtain permission and observe the relevant laws when gathering material from land that is not your own.
There is no need to buy large quantities of flowers or seek out exotic or expensive materials. Ordinary material can provide substantial design possibilities when we pay close attention to its different parts and how it can be organised.
Your two chosen materials should remain predominant, but you may add other material when it is needed to make the design successful. The restriction is a working discipline. Its purpose is to increase our engagement with the materials and the design principles while retaining enough flexibility to solve the design problem successfully.
There are no prescribed quantities. Gather or buy enough to make the design you intend. Design choices and the way we use our materials matter more than sheer variety or volume.
Mechanics are also a free choice. Use techniques you already know and can apply confidently, or experiment with something new if that is useful. A technically complicated construction is unnecessary. Choose mechanics that allow you to concentrate on the design problem itself.
Existing baskets, wire frames and structures salvaged from earlier work can all be used. Basic hand tools such as scissors, knives, snips and pliers will generally suffice.
The review is based on the photographs you submit, so the aim is to show the design as clearly and accurately as possible.
- Use a phone camera or basic digital camera.
- Use a clear, uninterrupted background.
- If the design needs staging, keep it simple. A plain table or plinth generally works well.
- Use reasonable, diffused light. Avoid relying on one harsh light source positioned in front of and above the design.
- Leave enough space around the design for its complete outline to be seen. Give the work room within the photograph and avoid cropping it tightly.
- Include at least one photograph that clearly shows the complete outline of the design, usually from the front or from the viewing position that best represents it.
- Send between one and five photographs. Additional views can be useful where they show depth, construction or a detail that is difficult to see in the main image.
- Do not use filters or other effects that obscure the design's actual qualities. The photographs need to represent the work as it really appears.
- Send medium- to high-resolution images. Around 1 to 3 MB per photograph is generally suitable. Higher resolution is preferable to an image that becomes pixelated when enlarged.
If the files are too large to send easily, contact Mark and another way of transferring them can be arranged.
Choosing which photographs to submit is useful in itself. Looking through several views and deciding which ones represent the design most clearly asks you to examine how the work reads when reduced to two dimensions.
The review concentrates on the design and the decisions that produced it.
We look at how the design responds to the task, the organising system operating within it, how the eye moves through it, how the materials have been distributed, and how the relevant design elements and principles are working together.
Where useful, Mark converts an image to black and white to reduce the influence of colour and reveal the design's underlying organisation. Lines, axes and shapes may be overlaid on the photograph to examine structure, proportions, balance, focal areas, line direction and distribution. Digital edits can then test a proposed change and allow the original and edited versions to be compared directly.
There is rarely only one solution to a design problem. Feedback may identify an area that could be strengthened and explore one or more ways of approaching it.
You are encouraged to tell Mark what you see in your own work when you submit it. If you already recognise something that feels unresolved, say so. Recognising a problem is an important part of developing your own analytical skills, even when you have not yet found the solution.
A set of self-evaluation questions is also provided. You can use these while planning, during the making process, when selecting photographs, when submitting the design or after the review. They are prompts to use when useful. You do not need to apply every question to every design.
All submitted work is discussed with the group.
This is an important part of Design Solutions. Everyone works within the same task and material parameters, yet differences in chosen materials, experience, construction methods and individual decisions produce very different results. Seeing those differences gives us more to analyse than any one design could provide on its own.
The purpose is to examine each design on its own terms. We look at what is happening within the work, the effects of the decisions that have been made, and how successfully those decisions support the intended result.
When looking at someone else's work, the useful question is whether we can understand the choices that were made, what effect they have, and what that teaches us about our own work.
The photographs you submit are shown to the other participants as part of the Design Solutions review. Everyone sees the submitted work because shared analysis is a central part of the learning process.
Use of your work outside Design Solutions is separate. Flower Thinking may ask to feature participant work in its galleries, social media, campaigns or other public material. This requires your permission, and the work will be attributed to you.
You are also free to share your own work publicly during or after Design Solutions.
If you share work from Design Solutions on social media, you can use: #floraldesignsolutions #flowerthinking
It is possible to join Design Solutions after the first meeting if places remain.
Joining before the second meeting is the easiest point because you can catch up with the introductory material and still have time to complete the first task.
If you join later, the aim is to get you participating from the point you enter without creating an unnecessary backlog. Use the recordings and supplied material to understand the Design Solutions framework, then work with Mark on what is practical for the remaining tasks.
Choose materials that are available to you and that offer enough possibilities to sustain your interest across the four tasks. You do not need to make expensive or elaborate work.
Use mechanics that allow you to concentrate on the design decisions each task asks you to make.
Ask questions when you need to. Look closely at the different solutions discussed in the meetings. Use the self-evaluation questions when you find them helpful.
Continue examining your own work and asking why you made each decision, what effect it had, and whether you would make the same decision again. This is how we become more conscious of the habits shaping our work and develop a wider range of deliberate responses.
Before you decide
You do not need advanced technical or theoretical mastery. A working familiarity with floral design is enough. If you can make a floral design using methods you already know, you have enough experience to take part.
Most likely, yes. Everyone begins from a different point, and Design Solutions does not rank one person's work against another's. We examine each design on its own terms, looking at the decisions that have been made, their effects, and what can be learned from them. The value comes from committing to the process, being willing to make mistakes and continuing to develop as you progress.
No. Design Solutions is open to people from different floral backgrounds, including floristry, floral art, flower arranging, competition and exhibition work, ikebana and other floral traditions. The design principles we work with apply across these different practices.
Your two chosen materials should remain predominant, but you can add other material when it is needed to make the design successful. The restriction encourages us to work more deliberately with the materials and design principles while retaining enough flexibility to solve the design problem successfully.
We aim to work with the same two preferred materials across all four tasks. Some practical flexibility remains. As the design problems change, staying with the same materials asks you to explore them more fully and discover different possibilities in their various parts and states.
Choose materials that you can source repeatedly throughout the eight weeks and that give you room to explore. Look beyond the obvious flower or leaf. Stems, seed pods, bracts and other parts, used fresh, dried, whole or separated, can all extend what a material offers. Expensive or exotic material is unnecessary.
You can join the live sessions or catch up with the recordings and detailed notes provided after every meeting. Attending live is worthwhile when possible because it gives you the opportunity to ask questions and discuss the work with Mark and the rest of the group.
Allow approximately five to eight hours for each task as a general planning range. Individual working times vary substantially. The tasks are spaced through the eight weeks so that you have time to think, make, photograph and submit each design before its review.
The basic hand tools you probably already have on your bench, such as scissors, knives, snips and pliers, will generally suffice. For photographing your submissions, you will need a phone or basic digital camera, a plain background, a table or plinth if the design needs one, and reasonable light.
A phone camera or basic digital camera is fine. What matters is that the photograph represents the design as it really is because the critique works from the image. Use a clear background and diffused light, leave a border of space around the design, and avoid filters. Send one to five images, always including a photograph that shows the complete outline.
You do not have to join every lesson live. Recordings and notes are provided afterwards so that you can catch up. Missing a meeting does not prevent you from continuing with Design Solutions.
Continue with Design Solutions where you can. Depending on the timing, there may be an opportunity to complete the task later or submit it for whatever review is practicable. Missing one task does not require you to stop participating in the remaining tasks.
Contact Mark and send your work when you can. Each task has a target submission date shortly before its review meeting, but we will work with what is practicable when circumstances get in the way.
Yes. Revision is entirely optional. If you see an opportunity to advance your learning by revising a design, either before submission or after feedback, you are encouraged to do so. Mark will give you direct feedback on the revision so that the effects of the changes can be examined. Where time permits, revised work may also be covered in the following lesson.
Yes. Everyone in the class sees the submitted work because shared analysis is an important part of the learning process. Use of your work outside Design Solutions is separate. Flower Thinking may ask to feature participant work in its galleries, social media, campaigns or other public material, with attribution, but only with your permission.
Pricing is deliberately flat so that Design Solutions is as affordable as possible for everyone. There are no discounts or group rates available.
If places remain, yes. Joining before the second lesson is easiest because there is still time to catch up with the introductory material and complete the first task. If you join later, the aim is to get you participating from the point you enter without creating an unnecessary backlog.
Source your materials wherever you can. Your garden, florists, wholesalers, friends, local growers and materials growing nearby can all be useful sources. Obtain permission and observe the relevant laws when collecting material from land that is not your own. There is no expectation that you buy expensive or exotic flowers.
There are no prescribed quantities. Gather or buy enough to make the designs you intend. There is no expectation that the work should use large amounts of material. Our design choices and how we use our materials matter more than variety or volume.
Use any construction method or mechanics that allow you to make the design work. You can use techniques you already know or experiment with something new. The construction does not need to be elaborate. Existing baskets, wire frames and structures salvaged from earlier work can all be used.
Yes. If something in a brief is unclear, you are uncertain about a design decision, or you encounter a problem while working, email Mark. Questions between sessions are part of the way Design Solutions operates, and Mark will respond as soon as practicable.
You photograph and submit your work. Submissions are by email. The practical details are given in the first meeting.
Keep The Guide with you
Leave your email and we'll send the PDF version of this guide, for reference before and during the course.
What you're getting
- Your Design Solutions dates and meeting format
- How each task and submission works, step by step
- Guidance for choosing and working with your two materials
- Photography guidance, so your work is represented accurately
- Information about reviews, revisions, missed work and support
Reserve your place
Eight places, eight weeks
Five live sessions, four practical tasks, feedback on every design.
How the course actually runs
See how Design Solutions works in practice, from the four design tasks and live reviews to photography, submissions, support, recordings and materials.
You'll know what to expect before you join, including how each task unfolds and how feedback and group discussion support your learning.
- Your course dates and meeting format, ready to save or print
- How each task and submission works, step by step
- Photography guidance, so your work is represented fairly
- Materials, mechanics and self-evaluation guidance to keep beside you throughout the course